%20-%20V2.png?width=1200&height=600&name=MO%20Agency%20-%20Blog%20Page%20-%20HubSpot%20onboarding%20checklist%20(HubSpot%20All)%20-%20V2.png)


Updated 28 May 2026
HubSpot onboarding is the structured setup process that takes you from a blank portal to a configured, data-loaded CRM your team can actually use.
HubSpot requires onboarding for its Professional and Enterprise plans, and how well you prepare for it is the single biggest factor in how quickly you reach value.
Onboarding can be done directly with HubSpot or with a HubSpot Solutions Partner. There are advantages to both.
HubSpot offers a well-worn, standardised onboarding process; it does not stray from this recipe and is strictly guided. Guided means you need to implement everything yourself.
HubSpot Partners offer a more customised process tailored to your business and industry. HubSpot partners will offer both the guided and tailored done-for-you onboarding options. Additionally, a HubSpot partner will help you work through your data, cleanse and optimise it, and connect it to your existing systems. HubSpot cannot do this for you.
%20-%2002%20X2.png?width=2340&height=1320&name=HubSpot%20Onboarding%20-%20JUMO%20(Shan)%20-%2002%20X2.png)
Regardless of whether you do onboarding with HubSpot or with a HubSpot solutions partner, the onboarding process follows the same five phases: preparing before you start, auditing your systems and integrations, cleaning and importing your data, planning training around a HubSpot Champion, and going live. This checklist walks through each phase with the concrete actions to complete before your first onboarding call.
HubSpot onboarding checklist at a glance
- Phase 1 - Pre-onboarding preparation. Document your pain points, define a basic sales process, secure budget and account access, and nominate a HubSpot Champion.
- Phase 2 - Systems and integrations. Audit your current tech stack, check the App Marketplace for native integrations, and decide what to keep, replace, or connect.
- Phase 3 - Data preparation and import. Choose the right object types, set unique identifiers, clean and standardise your data, and run a sample import before the full load.
- Phase 4 - Training and your HubSpot Champion. Identify who needs to attend each session and protect their time for the duration of onboarding.
- Phase 5 - Go-live and adoption. Confirm permissions, validate workflows and reporting, and set a review rhythm so adoption sticks.
Most direct HubSpot onboarding programmes run as structured coaching sessions over roughly 60 to 90 days. They guide you through setup rather than building the portal for you, so the preparation below is what keeps the timeline on track.
Phase 1 - Pre-onboarding preparation
Onboarding moves at the speed of your preparation. Before your first session, get the following ready:
- Write down your pain points. List the specific problems HubSpot is meant to solve, in order of priority. This anchors every configuration decision that follows.
- Define a basic sales process. Even a rough version of your deal stages and lifecycle helps. This can be refined during onboarding, but starting from something is far faster than starting from nothing.
- Secure your budget upfront. Confirm what you have approved for licences, onboarding, and any partner implementation, so scoping conversations do not stall.
- Gather account access. Collect logins for the social, email, and ad accounts you will connect, and identify who controls them internally.
- Nominate a HubSpot Champion. This is the person who owns the portal and the onboarding project end-to-end. They attend every session and become the internal point of authority after go-live.
- Bring your wishlist. Capture the campaigns, reports, and automations you would like to build, even if they are aspirational. It helps your onboarding team prioritise.
Not all of this needs to be finished by session one, but missing information here is the most common cause of onboarding delays and frustration later.
%20-%2003%20X1.jpg?width=1170&height=660&name=HubSpot%20Onboarding%20-%20JUMO%20(Shan)%20-%2003%20X1.jpg)
Phase 2 - Systems and integrations
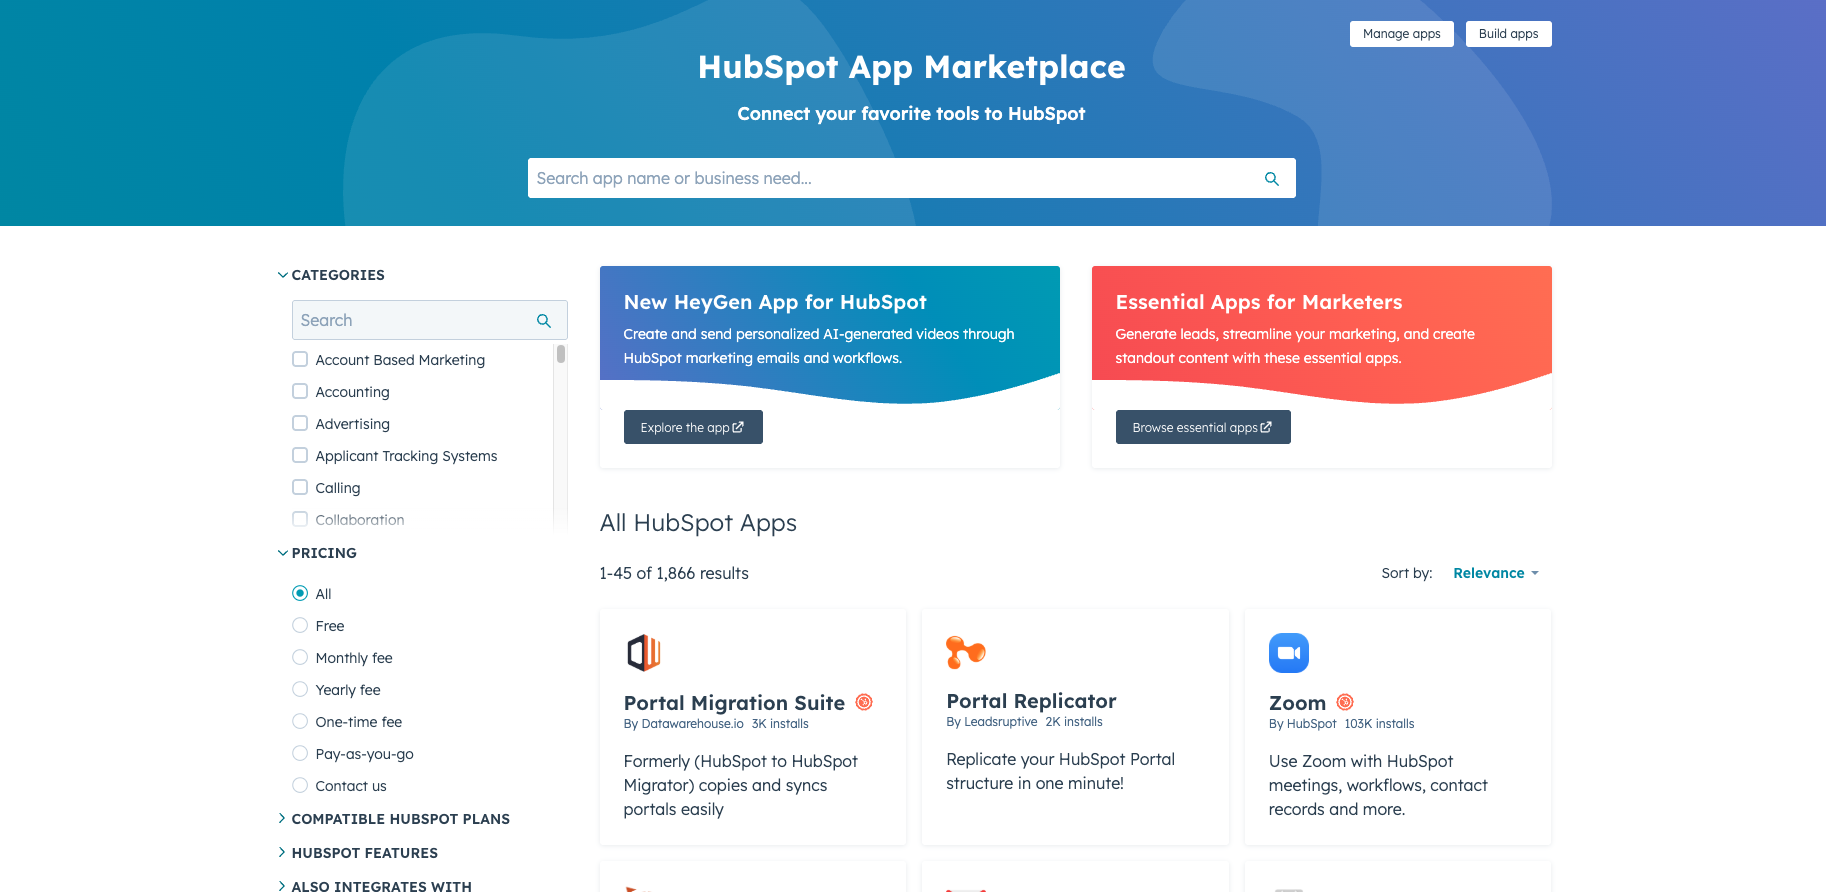
HubSpot connects to a large ecosystem of business tools, and the App Marketplace now lists over 2,000 apps and integrations. The average customer runs more than five of them, so the goal of this phase is deciding what your stack should look like inside HubSpot.
- Audit your current tech stack. List every tool in use, which team relies on it, and what it does. Note anything business-critical.
- Search the App Marketplace. Check whether each tool has a native integration. A native connection is usually the fastest, lowest-maintenance option.
- Decide keep, replace, or connect. Some tools are worth keeping and integrating; others are replaced by HubSpot functionality you are already paying for. Work this through with your onboarding team rather than cancelling everything on day one.
- Flag the gaps. If a tool you depend on has no native integration, that is an early signal about the kind of HubSpot expertise you need, and it may require additional scoping for a custom build.
Phase 3 - Data preparation and import
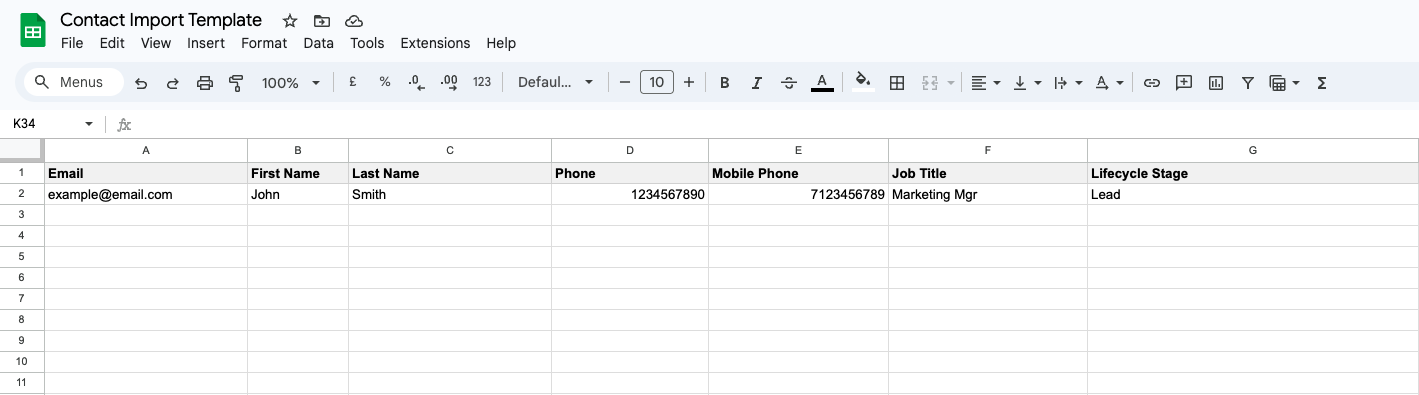
Data is where most onboarding gets stuck. Data that has been stored for a long time decays, drifts in format, and accumulates duplicates, and importing it dirty creates problems that ripple into your reporting, workflows, and automation. Clean data in means usable data out. Work through this data preparation checklist before you import anything.
- Choose the right object type for each dataset. HubSpot's standard objects include Contacts, Companies, Deals, Tickets, Products, Line Items, Carts, Orders, Subscriptions, and Listings. Each has its own properties and import rules. Get the object wrong, and the data lands in the wrong place or becomes unusable.
- Set a unique identifier for every object. Use email address for Contacts, company domain for Companies, and the HubSpot Record ID for Deals or Tickets you are updating or associating. This is what prevents duplicates and lets you link records to one another.
- Standardise your fields. Make dropdown and checkbox values consistent, convert all currency and number fields to one format, and standardise phone and date formats.
- Remove the noise. Strip out unnecessary special characters, delete blank rows, and fix misaligned columns before the file goes anywhere near HubSpot.
- Validate and deduplicate. Check email validity and remove duplicate records. For B2B company records, avoid using free domains such as gmail.com or yahoo.com as the company identifier.
- Map legacy fields to HubSpot properties. Match each column in your file to the HubSpot property it should populate, and create any custom properties you need first.
- Run a sample import first. Always test with a small batch to see how the mapping behaves before importing the full dataset. The same discipline applies when you integrate data from other systems.
This phase is also the most commonly cited reason for onboarding overruns, so time spent here is rarely wasted.
Phase 4 - Training and your HubSpot Champion
Who needs to be in the room depends on which HubSpot Hubs you have purchased, but two rules apply to every onboarding.
First, your HubSpot Champion attends every session. They control the portal and the project, so the sessions cannot run effectively without them.
Second, anyone who needs to know how the system works needs to be in the relevant session. Think about which pain points the purchase was meant to solve and who those problems affect day-to-day, and invite those people. You can split sessions by topic or Hub, but attendees should come ready to ask questions and should have protected time set aside to work alongside the onboarding team throughout.
Phase 5 - Go-live and adoption
Going live is a configuration milestone, not the finish line.
- Confirm user access and permissions. Decide who needs which level of access and set permissions accordingly. Permission changes are possible later, but can carry an added cost, so it pays to plan them now with your onboarding team.
- Validate before you switch over. Check that your imported data, key workflows, and core reports behave as expected.
- Balance old and new. Expect to keep some legacy processes and rebuild others. Finding that balance, rather than forcing a clean break, is what makes adoption stick.
- Set a review rhythm. Schedule regular check-ins after go-live to refine configuration and keep your team using the system the way it was designed.
Who should run your HubSpot onboarding?
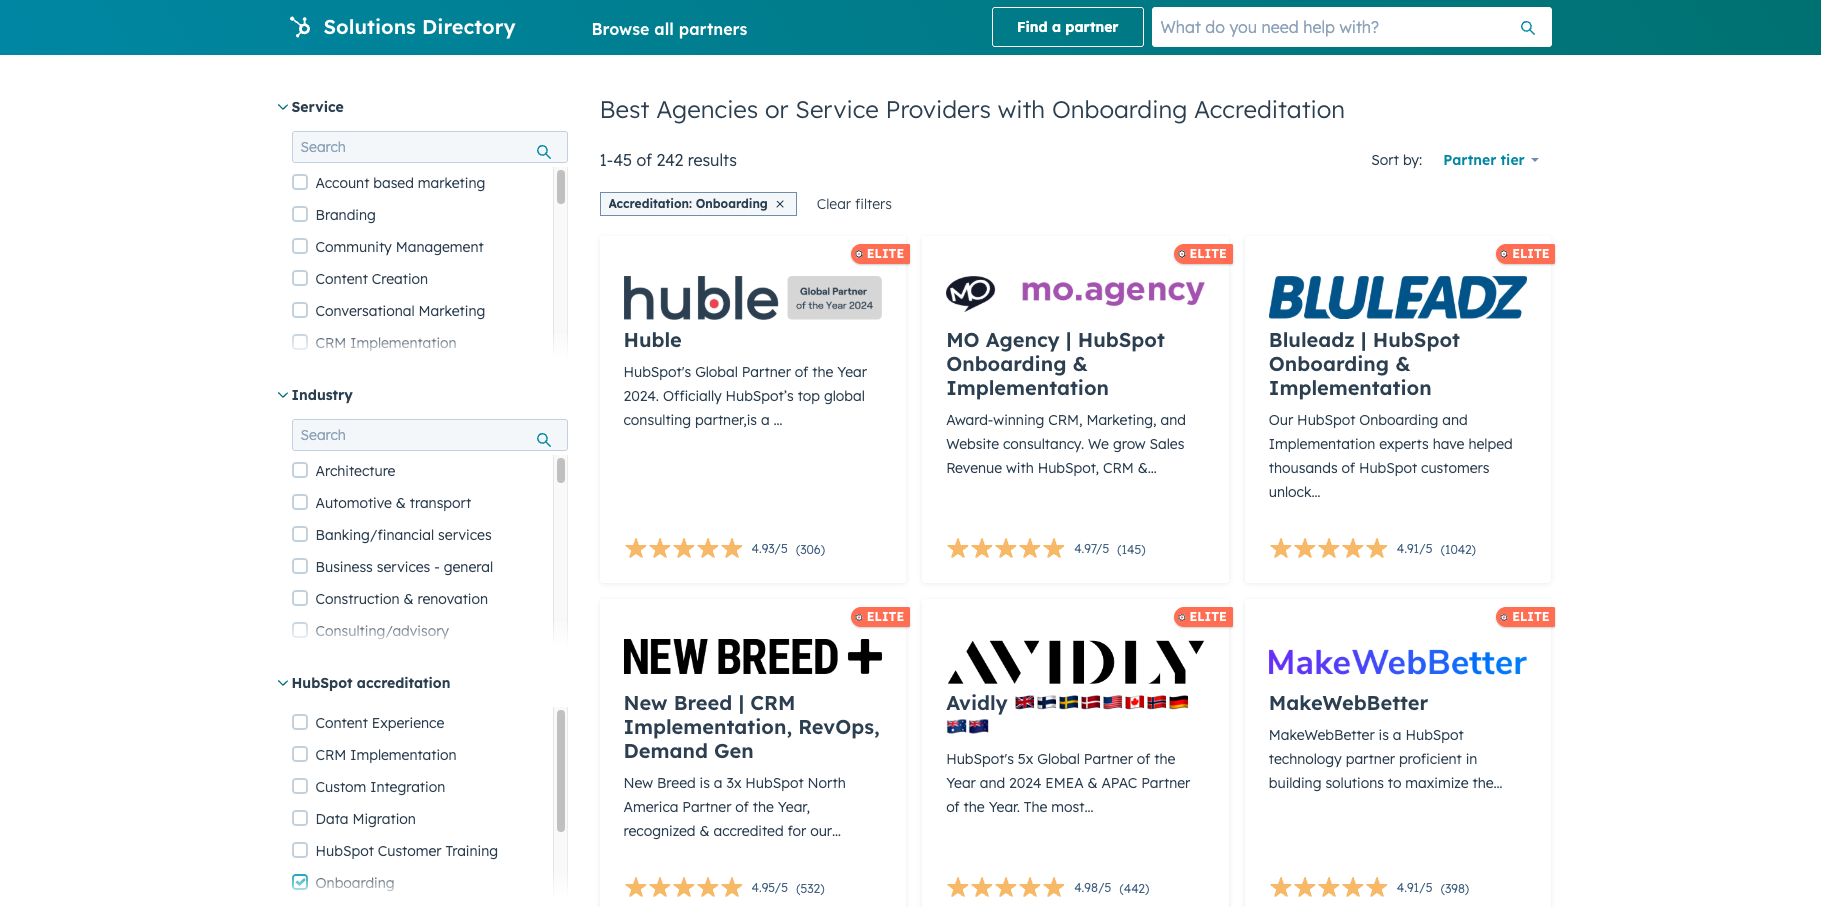
You can complete onboarding directly with HubSpot or with a certified Solutions Partner. Partner-led onboarding often replaces HubSpot's direct fee with a scoped implementation, and the right partner adds data migration, custom integrations, and process design that direct onboarding does not cover. If you are weighing this up, see our guide on how to choose a HubSpot partner in South Africa and our breakdown of HubSpot partner tiers.
Get onboarding best practice from an Elite partner
Following this checklist covers the fundamentals, but the fastest route to onboarding best practice is working with an experienced partner. MO Agency is South Africa’s most awarded HubSpot Elite Partner, founded in 2011, with over 500 HubSpot CRM implementations completed and offices in Johannesburg, Cape Town, and London. MO’s onboarding methodology builds these best practices from day one, so your portal is set up for clean data, team adoption, and reliable reporting rather than rework later.
Frequently asked questions
What should I prepare before starting HubSpot onboarding?
Before your first session, document your pain points, define a basic sales process, secure your budget, gather access to the social, email, and ad accounts you will connect, nominate a HubSpot Champion, and start cleaning the data you plan to import. Having these ready prevents the delays that come from chasing information mid-onboarding.
How long does HubSpot onboarding take?
Direct HubSpot onboarding typically runs as structured coaching sessions over about 60 to 90 days, covering initial setup and configuration. Partner-led onboarding timelines vary with the complexity of your data, integrations, and processes. The biggest variable in either path is how prepared your data and team are before you start.
What data do I need to clean before importing into HubSpot?
Standardise your dropdown, currency, phone, and date fields; remove special characters, blank rows, and duplicates; validate email addresses; set a unique identifier for each object (email for Contacts, domain for Companies, Record ID for Deals and Tickets); and map every column to the correct HubSpot property. Run a small sample import to confirm the mapping before loading everything.
Who should attend HubSpot onboarding sessions?
Your HubSpot Champion attends every session, since they own the portal and the project. Beyond that, invite the people whose day-to-day work is affected by the problems HubSpot is meant to solve. You can split sessions by Hub or topic, but attendees should have protected time to participate throughout.
Is HubSpot onboarding required?
Yes. HubSpot requires onboarding for its Professional and Enterprise plans. You can complete it directly with HubSpot or through a certified Solutions Partner, who can often handle the implementation in place of HubSpot's direct onboarding fee.
Is HubSpot onboarding different in South Africa?
The core checklist is the same, but local context matters for data residency, currency and tax field setup, and choosing a partner who understands the South African market. As a HubSpot Elite Partner based in South Africa, MO Agency runs onboarding for enterprise and growth-led companies across the region. See our overview of HubSpot onboarding in South Africa for more.
Ready to onboard with confidence?
Working through this checklist before your first session is the fastest route to a HubSpot portal your team will use. If you would like a partner to run the implementation with you, talk to the MO Agency team.
Last updated: 28 May 2026. MO Agency is a HubSpot Elite Solutions Partner.